实现目标
- 通过nginx实现本地资源代理
- https 学习及使用
- 方便本地前端服务调试
相关环境
- windows 7 64
- nginx v 1.6
- natapp
- phpStudy
- 阿里云
基本操作
线上配置
- 注册个人域名
- 注册natapp
- 域名和natapp进行绑定
nginx 配置
常用命令
1 | nginx -s stop 强制关闭 |
http 代理配置1
2
3
4
5
6
7
8
9
10
11
12
13
14
15
16
17
18
19
20# 静态页面
location /html {
alias F:/HTML/year;
}
# 端口代理
location /demo {
proxy_pass http://127.0.0.1:6061;
}
# pass the PHP scripts to FastCGI server listening on 127.0.0.1:9000
# php环境代理
location ~ \.php(.*)$ {
root E:/WWW;# 这里是站点的根目录
fastcgi_pass 127.0.0.1:9000;
fastcgi_index index.php;
fastcgi_split_path_info ^((?U).+\.php)(/?.+)$;
fastcgi_param SCRIPT_FILENAME $document_root$fastcgi_script_name;
fastcgi_param PATH_INFO $fastcgi_path_info;
fastcgi_param PATH_TRANSLATED $document_root$fastcgi_path_info;
include fastcgi_params;
}
https 代理配置
1 | server { |
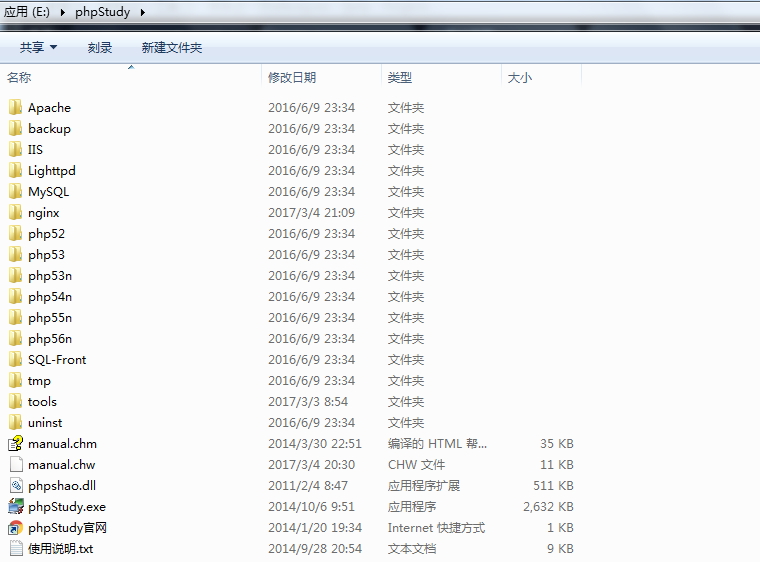
phpStudy 列表
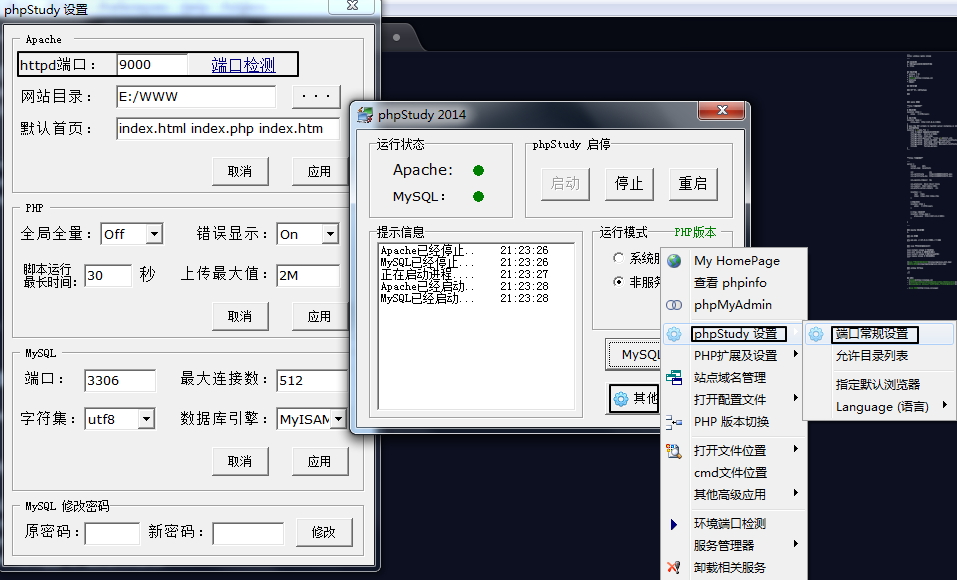
Apache 服务配置
php 配置
1 | php-cgi.exe -b 127.0.0.1:9000-c E:\WWW |
不运行上面代码,无法访问php
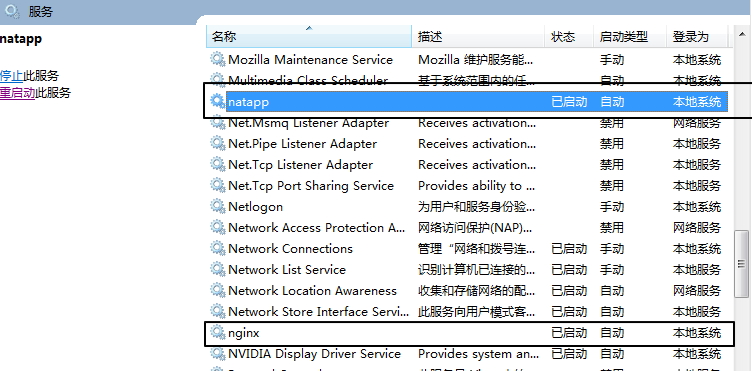
nssm 开机启动&后台运行
1 | nssm install natapp # 安装服务 |

注意事项
window 执行exe
1
.\n
https 加密文件
这两块必须要有的,可以到阿里云去申请。
1
2
ssl_certificate https/214009859140175.pem; # ssl 加密文件
ssl_certificate_key https/214009859140175.key; # ssl 加密文件阿里云【管理控制台】下【证书服务】
参考
赏
使用支付宝打赏
使用微信打赏
若你觉得我的文章对你有帮助,欢迎点击上方按钮对我打赏
扫描二维码,分享此文章